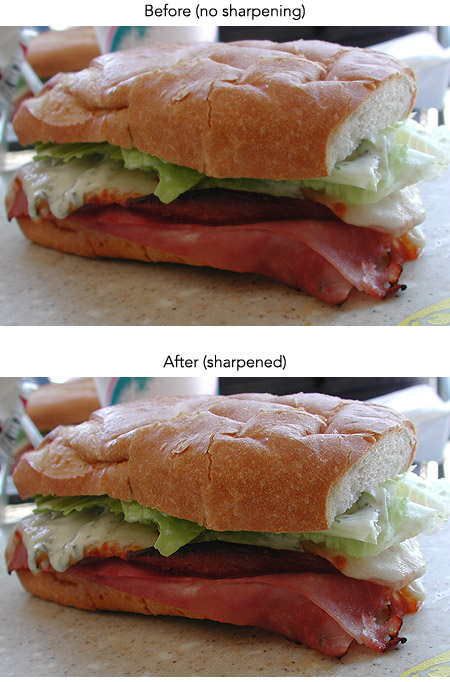
Here’s a quick tip for making your photos look better online and in your web site designs. After you resize a photo down to your final size, use the sharpen filter in Photoshop to add an extra level of crispness. Resizing photos introduces a slight blur that can’t be prevented. When you are printing your images it doesn’t make a difference, but for on screen display the images need to be sharpened so they look their best.
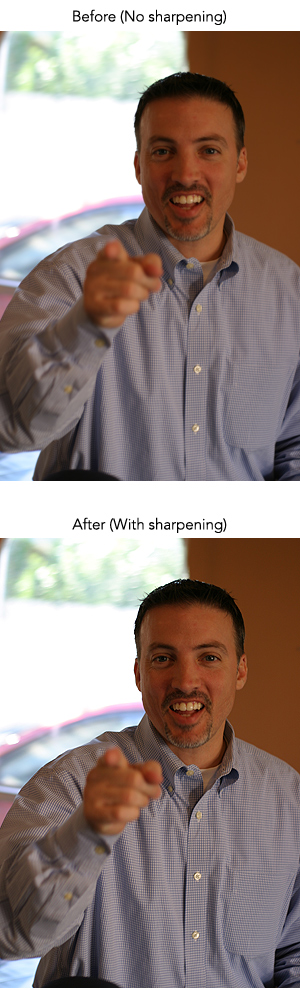
The benefits: Your images won’t look blurry. In people photos the eyes will shine more. Overall, it just adds a level of crispness to the photos you place online.
I’ve prepared two samples. Sample #1 and sample #2.
Update: Two more images for you to see. #3 is a clown and #4 is Todd.
6 responses to “BrainFuel Tip: Use the Sharpen Filter”
kewl… can you do one with and without the shiney eyes too, please
I like the blurry clown.. he’s cool.
[…] Use the sharpen tool on photos. Especially if your photo is destined for web use (or email) and you just resized a big picture to small dimensions. It makes your photos crisp and makes everything and everybody clear. I wrote more about this in April. […]
If you’re sharpening after shrinking an image, you could consider changing the interpolation mode in the resize dialog from “Bicubic” to “Nearest Neighbor.” This has the same effect as sharpening.
Sometimes it oversharpens the image, though; other times it works like a charm.
I’ve had some good success with the “Unsharpen” filter. Read about it somewhere and although I don’t quite ‘get’ what it’s doing, it’s worth a bash.
The unsharp filter and smart sharpen (cs2) filters are much better than sharpen. The Sharpen filter is looks REALLY REALLY bad when you zoom in on it. The way the sharpen filter works just destroys jpeg images by enhancing jagginess. It destroys skin tones and makes hairs line stair-stepped.
It’s pretty simple to test, just resize an image to a small size and then compare the results of sharpen vs unsharpen.
If your image has skin tones, it is even helpful to first run your image through a small gaussian blur, like .1 or .2 and then run it through an unsharp mask.